The preservation of the monuments of Ross Bay has been a concern of the Old Cemeteries Society since the beginning of its involvement with the cemetery. Monuments are victim to the ravages of age, the extremes of seaside weather, and the malice of vandals. Keeping them safe is an ongoing, and sometimes overwhelming, chore.
There are two schools of thought on the preservation of monuments in cemeteries. The first suggests that it is appropriate to allow the monuments to disintegrate over time, in place, without interference, especially when the deterioration is a natural process. This school of thought is widespread throughout Europe, even to the point where people are not encouraged to clean away undergrowth that has grown over the monuments and hides them from view. A key element of this philosophy is recording; that is to say, all aspects of the monument should be recorded in detail, in order that a record of what the monument originally looked like can be kept.
The other school of thought maintains that good conservation should be undertaken to extend the life of the monument as long as possible and to reveal or restore what the monument maker originally produced. It follows from this argument that the physical artifact is always more stimulating and evocative than a paper sketch or a photograph. Anyone embarking on heritage cemetery preservation and maintenance will likely encounter both of these arguments, and it is important for community groups to reach a consensus on this before embarking on further maintenance programs.
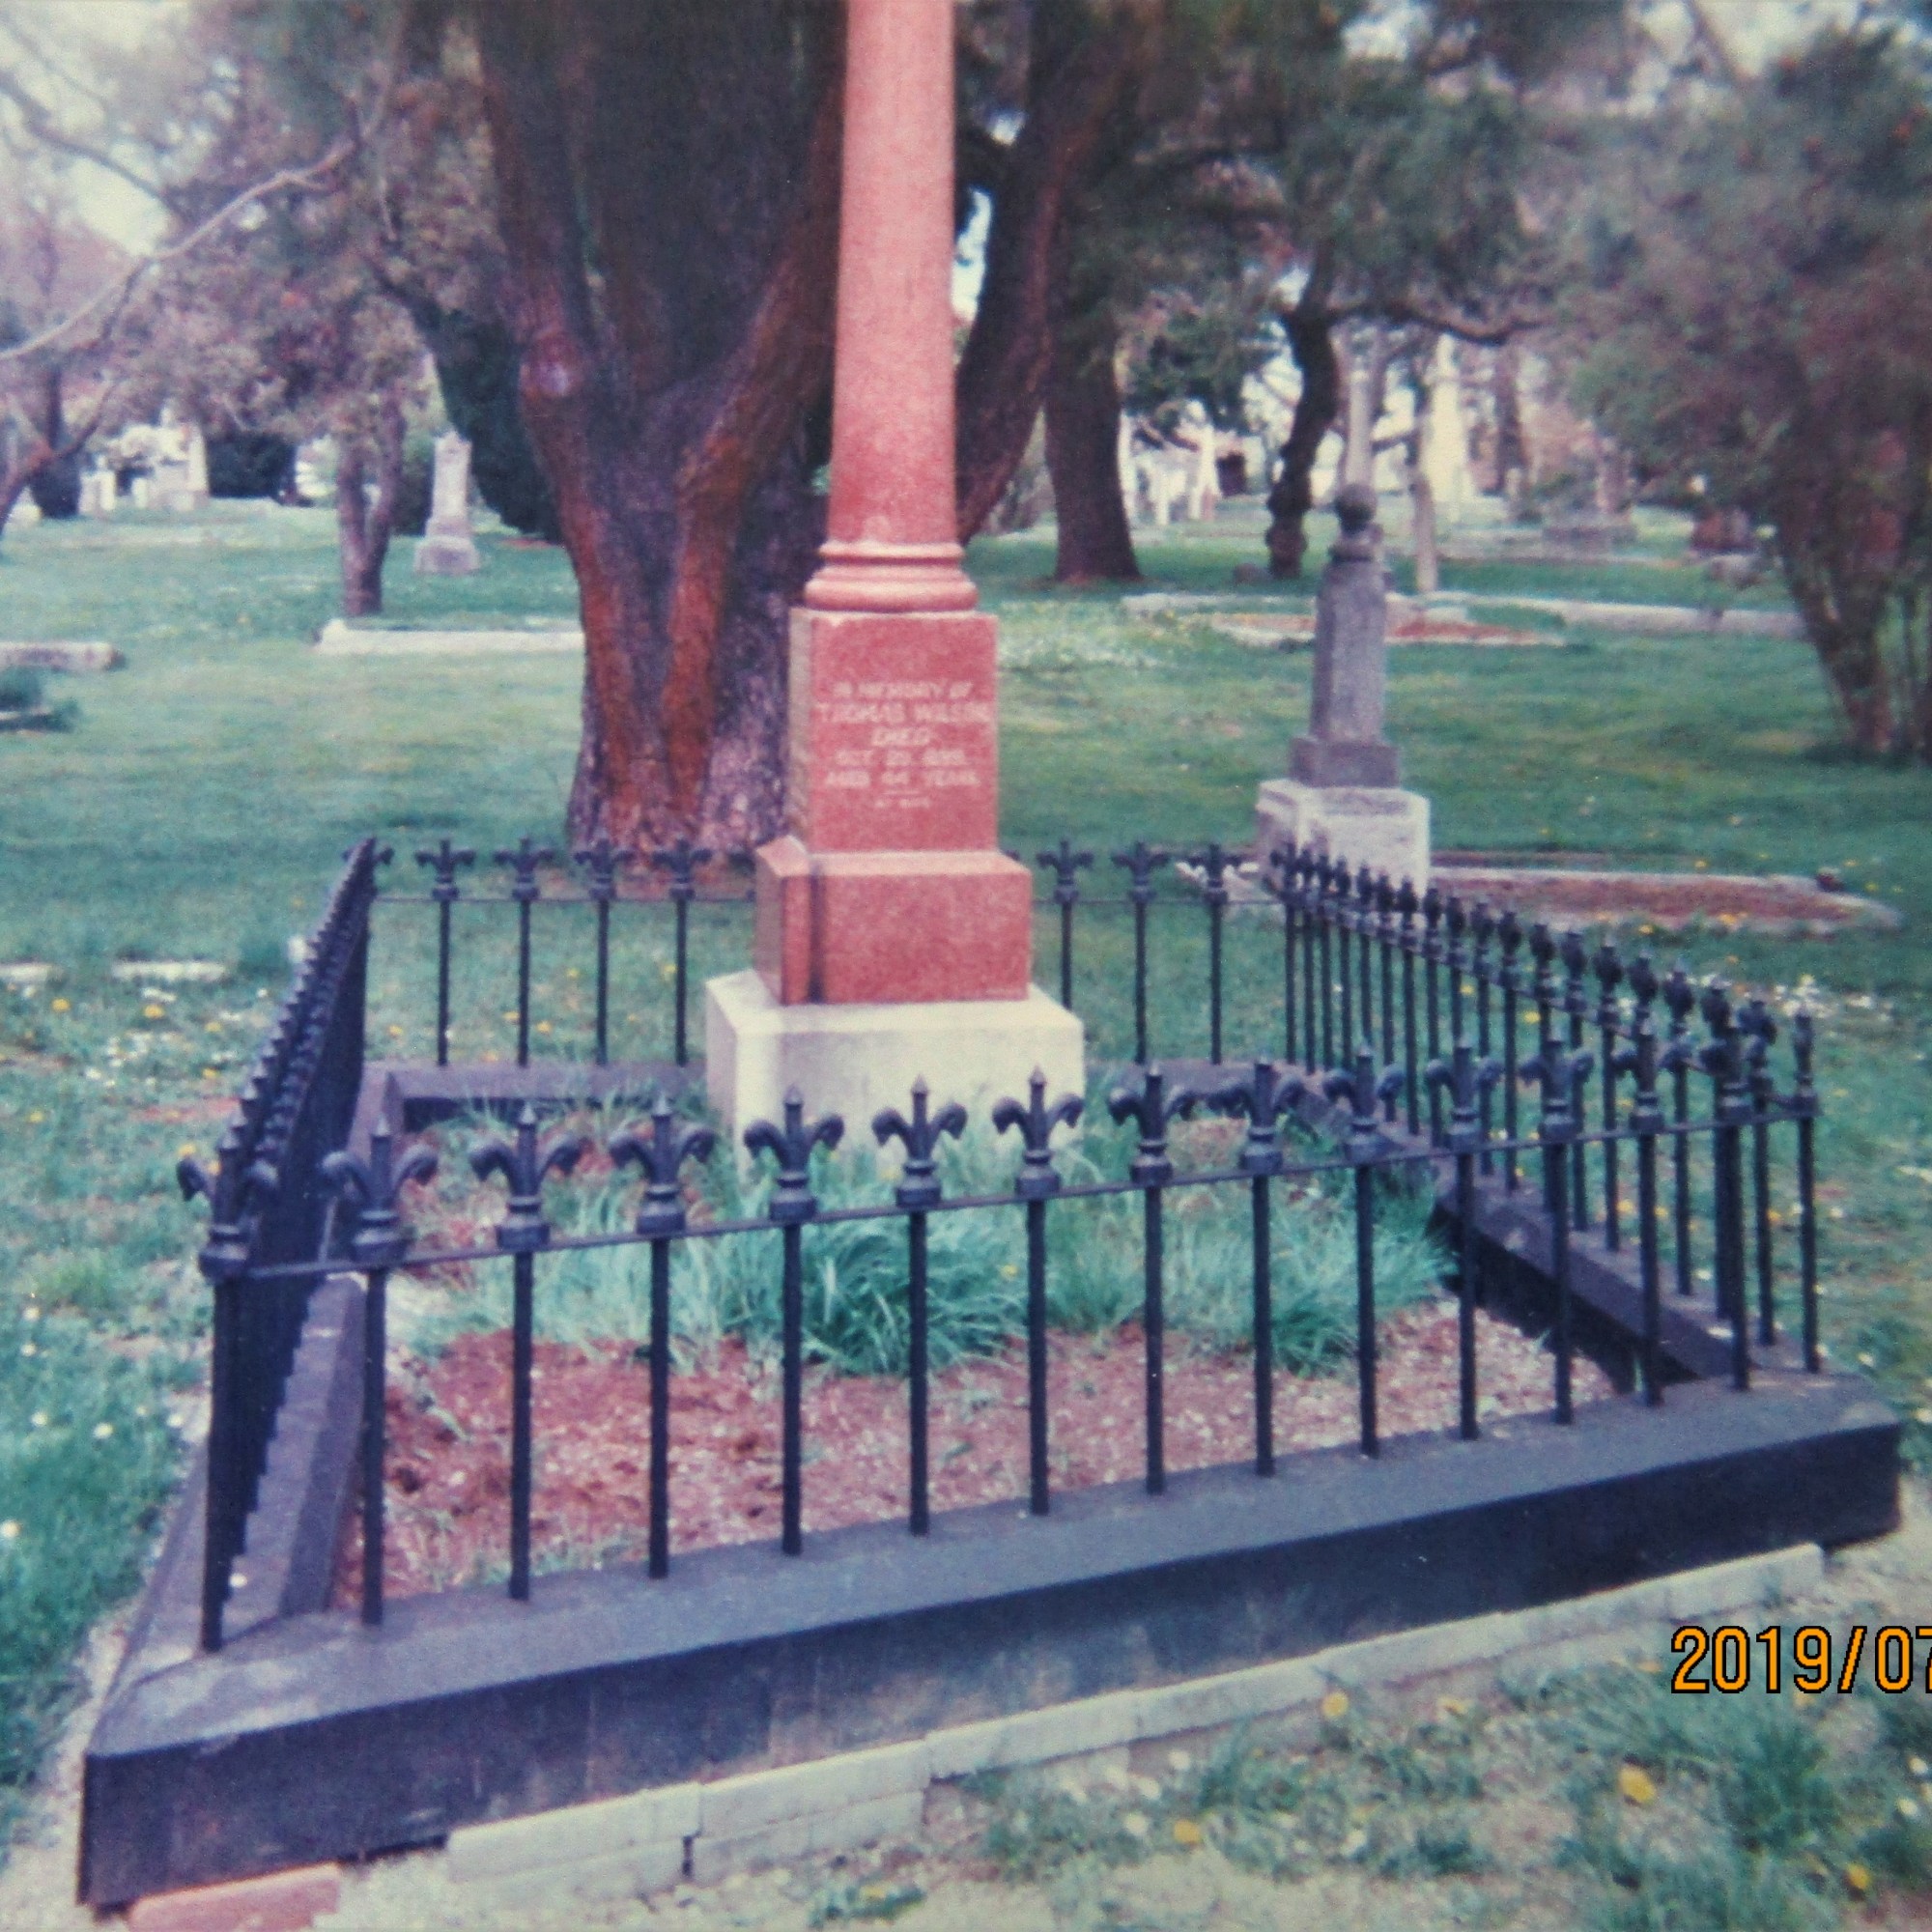
In Ross Bay’s case, however, it has been the choice to pursue the more active of the two schools of monument preservation. Major restoration projects, such as the wrought iron fence surrounding the Douglas family vault, have been undertaken by the Old Cemeteries Society.
Most repair jobs done in Ross Bay are stone cleaning or the reassembly of damaged tombstones, as well as the more involved project of leveling leaning columns or sunken graves.
Cleaning Gravestones
by Tina and Dale Utter

We are often asked how to clean gravestones. Many people, not knowing who to turn to, usually find themselves talking to a monument dealer. They may be very knowledgeable on what to do with granite headstones but their expertise, when it comes to historical markers made of sandstone or marble, is very limited. In fact, the information they may give you may permanently damage the stone. If it is a cleaning or if it is a repair, it may not last. They usually don’t have the specific training to answer these questions and would tackle the issues the same way they would for granite markers, with potentially disastrous results.
So why clean a gravestone you ask? Over the years an accumulation of dirt, lichen, algae, moss, mold, pollution, etc. have dirtied the stones so badly that many can barely be read, if at all. Family members, wanting to be able to read their loved one’s stones, want them cleaned. People doing genealogy research want to read them as well. We, who love the art work that can be found, want other people to see and appreciate the stones as we do.
Safety, both your personal safety and that of the stone, are of primary concern. Our cemeteries have suffered from years of neglect. We have seen stones leaning so badly that we fear the next gust of wind will blow them over. Others seem perfectly fine but the slightest bump or nudge could send them toppling. Children should never play in cemeteries or climb on the stones. Every year people are killed from falling stones. So, before you start cleaning, check the gravestone very thoroughly.
The first thing you want to see is if it is leaning excessively. Multi-piece monuments may not have anything holding the pieces together so they may slide right off each other. Is the stone broken or cracked anywhere? If it is a multi-piece monument be sure to check every level of stone. We know of one monument that has four different tiers and three of them are cracked or broken. We cringe every time we walk by it. If all looks well, stand to one side and grab the stone and push on the stone just a little for one final assurance it is safe. Sometimes a stone is broken below ground level and there is not much holding it in place.
Once you are satisfied that your safety in not in jeopardy, then take a closer look at the condition of the stone. Both marble and sandstone suffer from delamination issues or just splitting apart. So, check the edges and see if this is taking place. If it is, then the pressure from cleaning could literally make the front or back fall off or at least parts of it. Sandstone has other problems as well. Sometimes part of the front is separating like a blister or bubble. Check the back part of the lettering. Is there a gap? The stone could be rotting from the inside out. Tap the front. Does it sound hollow? This is not a good sound. If there are any doubts or concerns for yourself or the stone then you should not clean it.
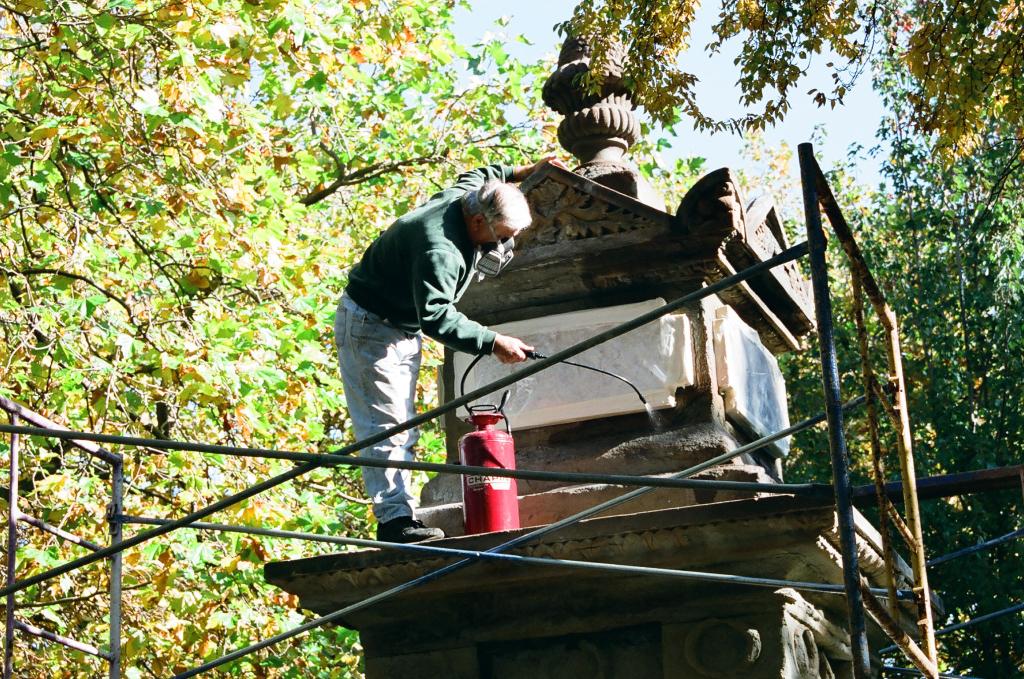
We like to visit a Dollar Store to obtain many of our cleaning supplies. Plastic or natural bristled brushes, plastic putty knives, plastic trowels, or wooden skewers can be found there. A plastic bristled grout brush works great for those tough spots but shouldn’t be used to clean the whole stone. A garden pump sprayer comes in real handy but never if you have used it previously for any kind of chemical spraying.
When cleaning gravestones you never want to use any metal tools such as wire brushes or scrapers. Also, do not use any mechanical means such as attachments to a drill. Using tools like these can permanently scratch and damage the stone. Be very careful when using metal shovels and bars as well. Plastic trowels can be very handy when working close to the stone.
We do not recommend the use of pressure washers, especially on marble or sandstone markers. They can literally blow the stones apart. If it is a granite stone the water pressure can remove or damage the high polish that is on the stone.
Usually 60%-70% of the stone will come clean with just water. So many years of pollution accumulation may never come completely off. Never use any household cleaners (comet, vinegar, etc.) or chemicals on the stones as this may cause permanent damage. Bleach will react with marble and literally eat the stone away. It may leave a yellowish color and ages the stone as well as making it feel rough to the touch.
My technique for cleaning a stone is to first take a brush or plastic putty knife and remove all loose material. Some sources say to clean from the bottom and go up but if the entire stone will be cleaned at that time we always go from the top down. Next, I wet down the whole stone using our sprayer so it can be soaking. If you don’t have a sprayer then wet down the side you will be cleaning from a gallon jug of water. I then like to use the putty knife again which will remove a lot more material once it is wet. With that done you are now ready for your scrub brush.
I like to keep dipping my scrub brush into a bucket of water as the extra water helps to wash the dirt down the stone. Scrub in a circular motion or up and down and then right and left so you clean all areas of the stone. Use the putty knife or grout brush for hard to remove areas. Popsicle sticks, tongue depressors or wooden shims work well also. We use wooden skewers to remove material from the lettering when brushes aren’t getting it. Rinse the stone often so you aren’t grinding the dirt back into the stone. Change the water in your bucket as well if it gets really dirty. Rinse the whole side when you are all done before proceeding to the next side.
When you think you are all done check the edges, the top and the back to be sure you haven’t missed anywhere. Now it is time for one final rinse. The last thing we do is to spray the stone with D/2 Biological Solution. This is a biocide and will kill any plant or animal growth and will also work on the areas that initially did not come clean. We suggest using it full strength. You must be patient with this product to see its results. Usually, you see the best results after a few weeks or even months. Rain reactivates its action so it will continue to work and the rain also washes off the old growth and stains. If there is a lot of growth on the stone it may turn a marble stone orange – don’t panic, it will wash off in time.
This is an expensive product so we do not suggest using it as cleaner as the directions suggest. A little also goes a long way. It can be bought on-line and Atlas Preservation.com is as reasonable as we have found. It is a very good product tested by the National Park Service and used by the Veterans Administration to clean over 3.5 million gravestones. Again, it may take a month or more to see the full results. Not all stains will come off easily or at all so another spraying could be done at a later date. You may not want the expense of buying this product and that is fine. Just using water and brushes will make a huge difference in the stone being cleaner and easier to read.
Keep in mind that our gravestones have been around a long time. Weather, time, nature, pollution and acid rain have taken their toll on these valuable pieces of history. No amount of cleaning will ever bring them back to their original condition. Our goal is simply to make them more readable.
Our cemeteries are in bad shape and in need of attention so we applaud the efforts of those seeking to make some improvements. Taking a stone that you have no idea what it says and cleaning it so it can now be read is very gratifying. You should give it a try.
We would like to say a big THANK YOU to all out there who are doing work in our neglected cemeteries. Your efforts are noticed and very much appreciated!
Conservation and Restoration Projects
To ensure the survival of Ross Bay for visitors and residents alike, the Ross Bay Cemetery staff follow a well designed maintenance and preservation program. This program includes the careful mowing and trimming of the grass around the stones, and the general maintenance of the plant life that has been cultivated over Ross Bay’s history.
Ross Bay has become as much a garden as a cemetery, and as such has relied on the dedication of its caretakers to not only maintain its fair grounds but to beautify them. Being so close to the rough seas off Dallas Road, Ross Bay has weathered storm and gale, snow and sun, and any manner of natural or unnatural decay that has manifested itself since Ross Bay’s 1873 inception.
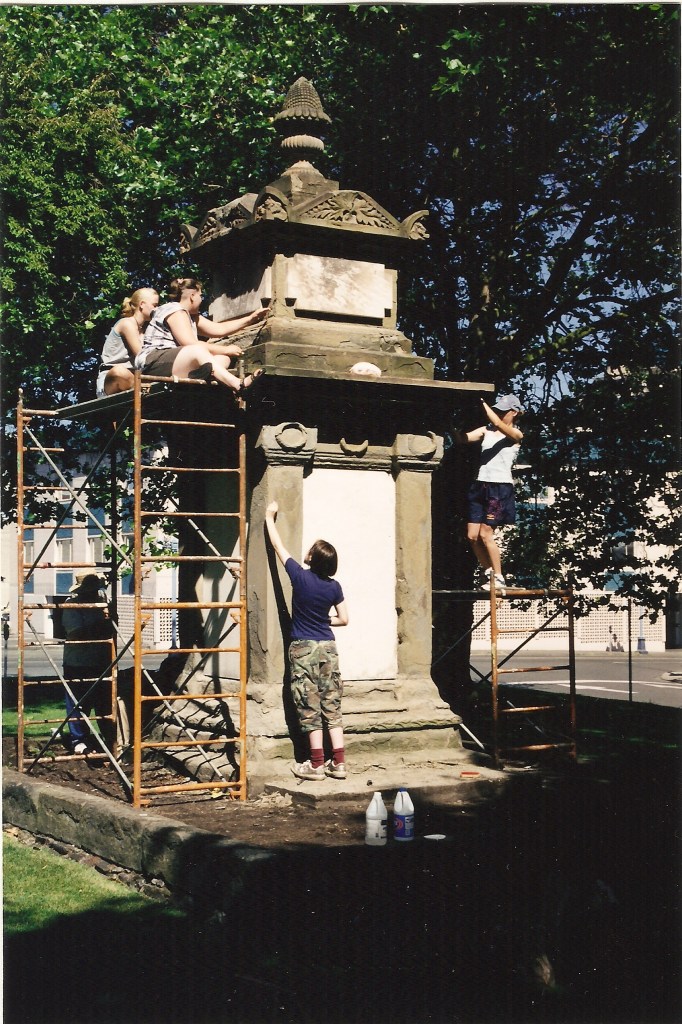
In 1987, the Old Cemeteries Society began a program of grave conservation. Experts in monument conservation were brought in to give workshops and over half of the markers in Section H were cleaned and restored in 1987/88. Since then most of the cemetery grave markers have been cleaned at least once.
Over the years the Society has undertaken many smaller restoration projects to restore damaged and broken grave sites
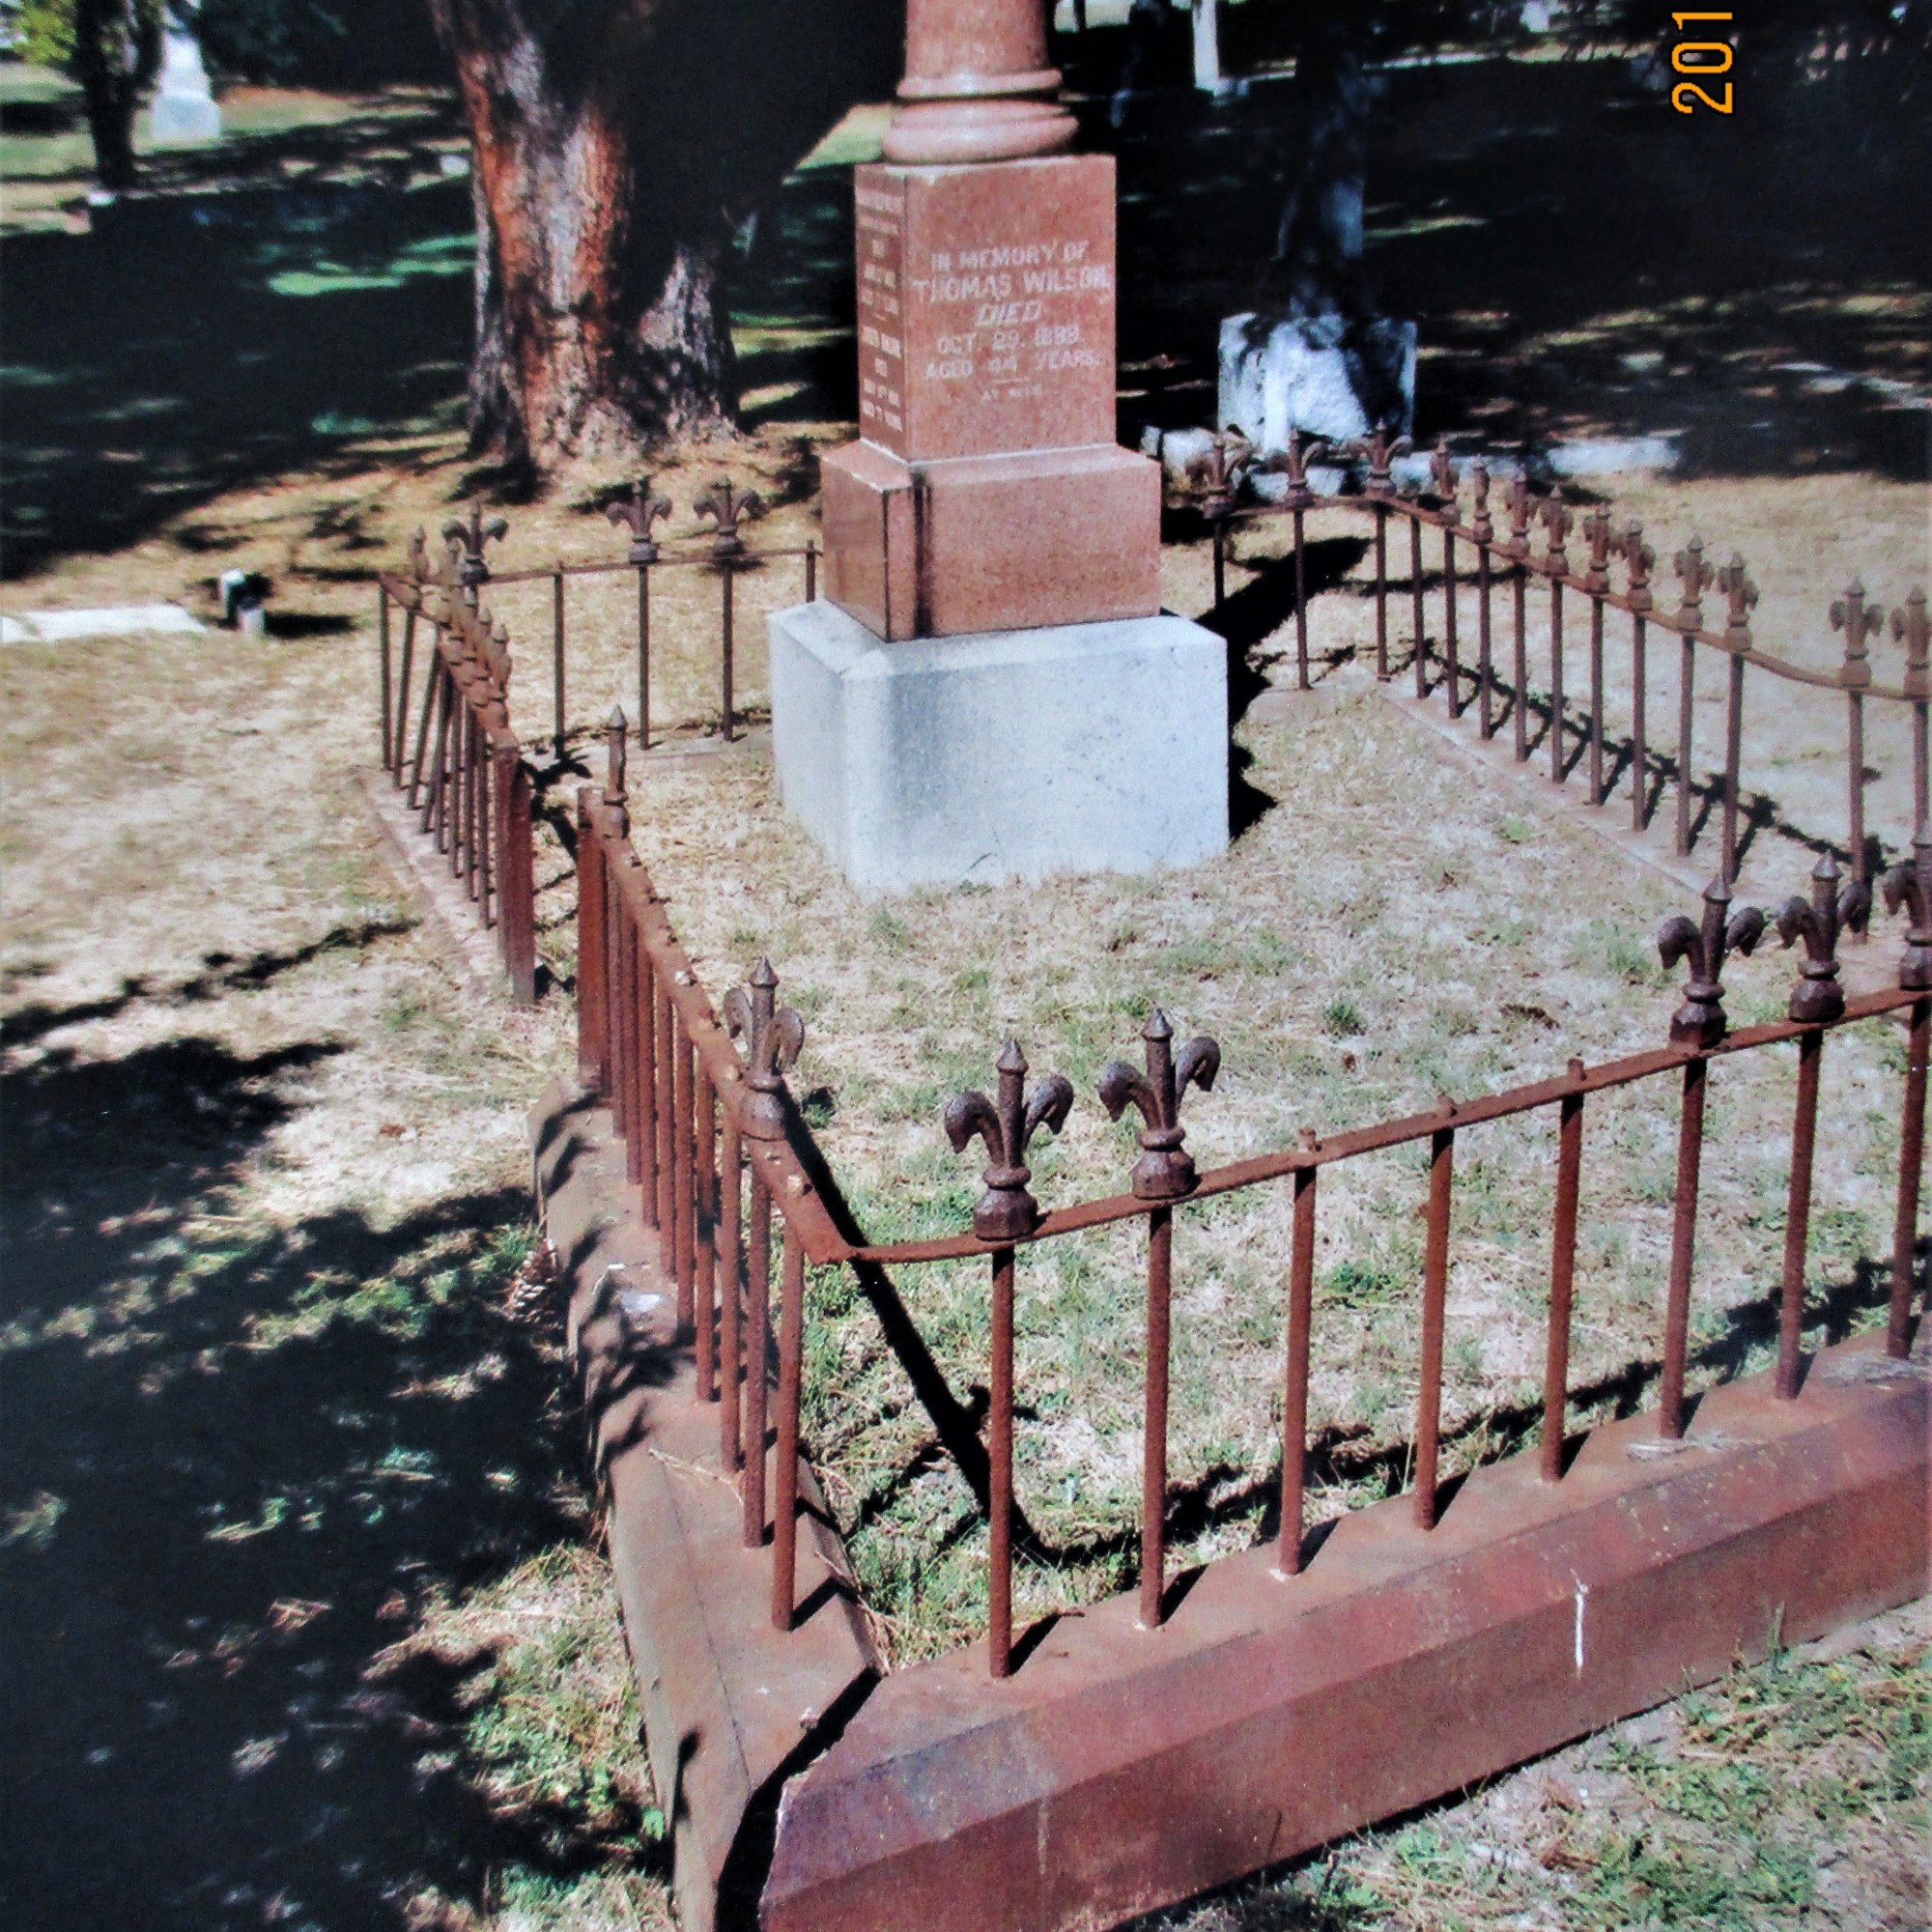


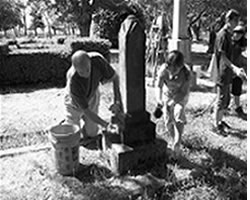
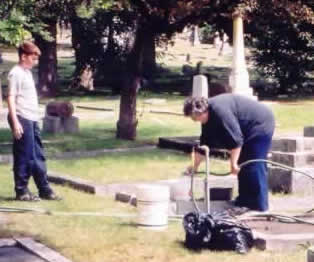
The Old Cemeteries Society volunteers conduct cleaning and restoration of graves on a regular basis.
Other ambitious projects have included:
Restoration of cast-iron grave fences around the Douglas family plot

Restoration of cast-iron grave fence around the grave of Charles Moss
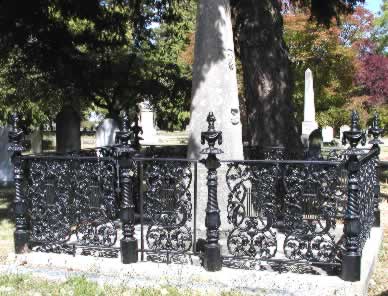
Grave Preservation – Charles and Hannah (Parker) Ball Fence
This fence is one of the few publicly displayed examples of the blacksmith’s art. The original fence was installed between 1914 and 1917. It is a very unique example of the blacksmith art.
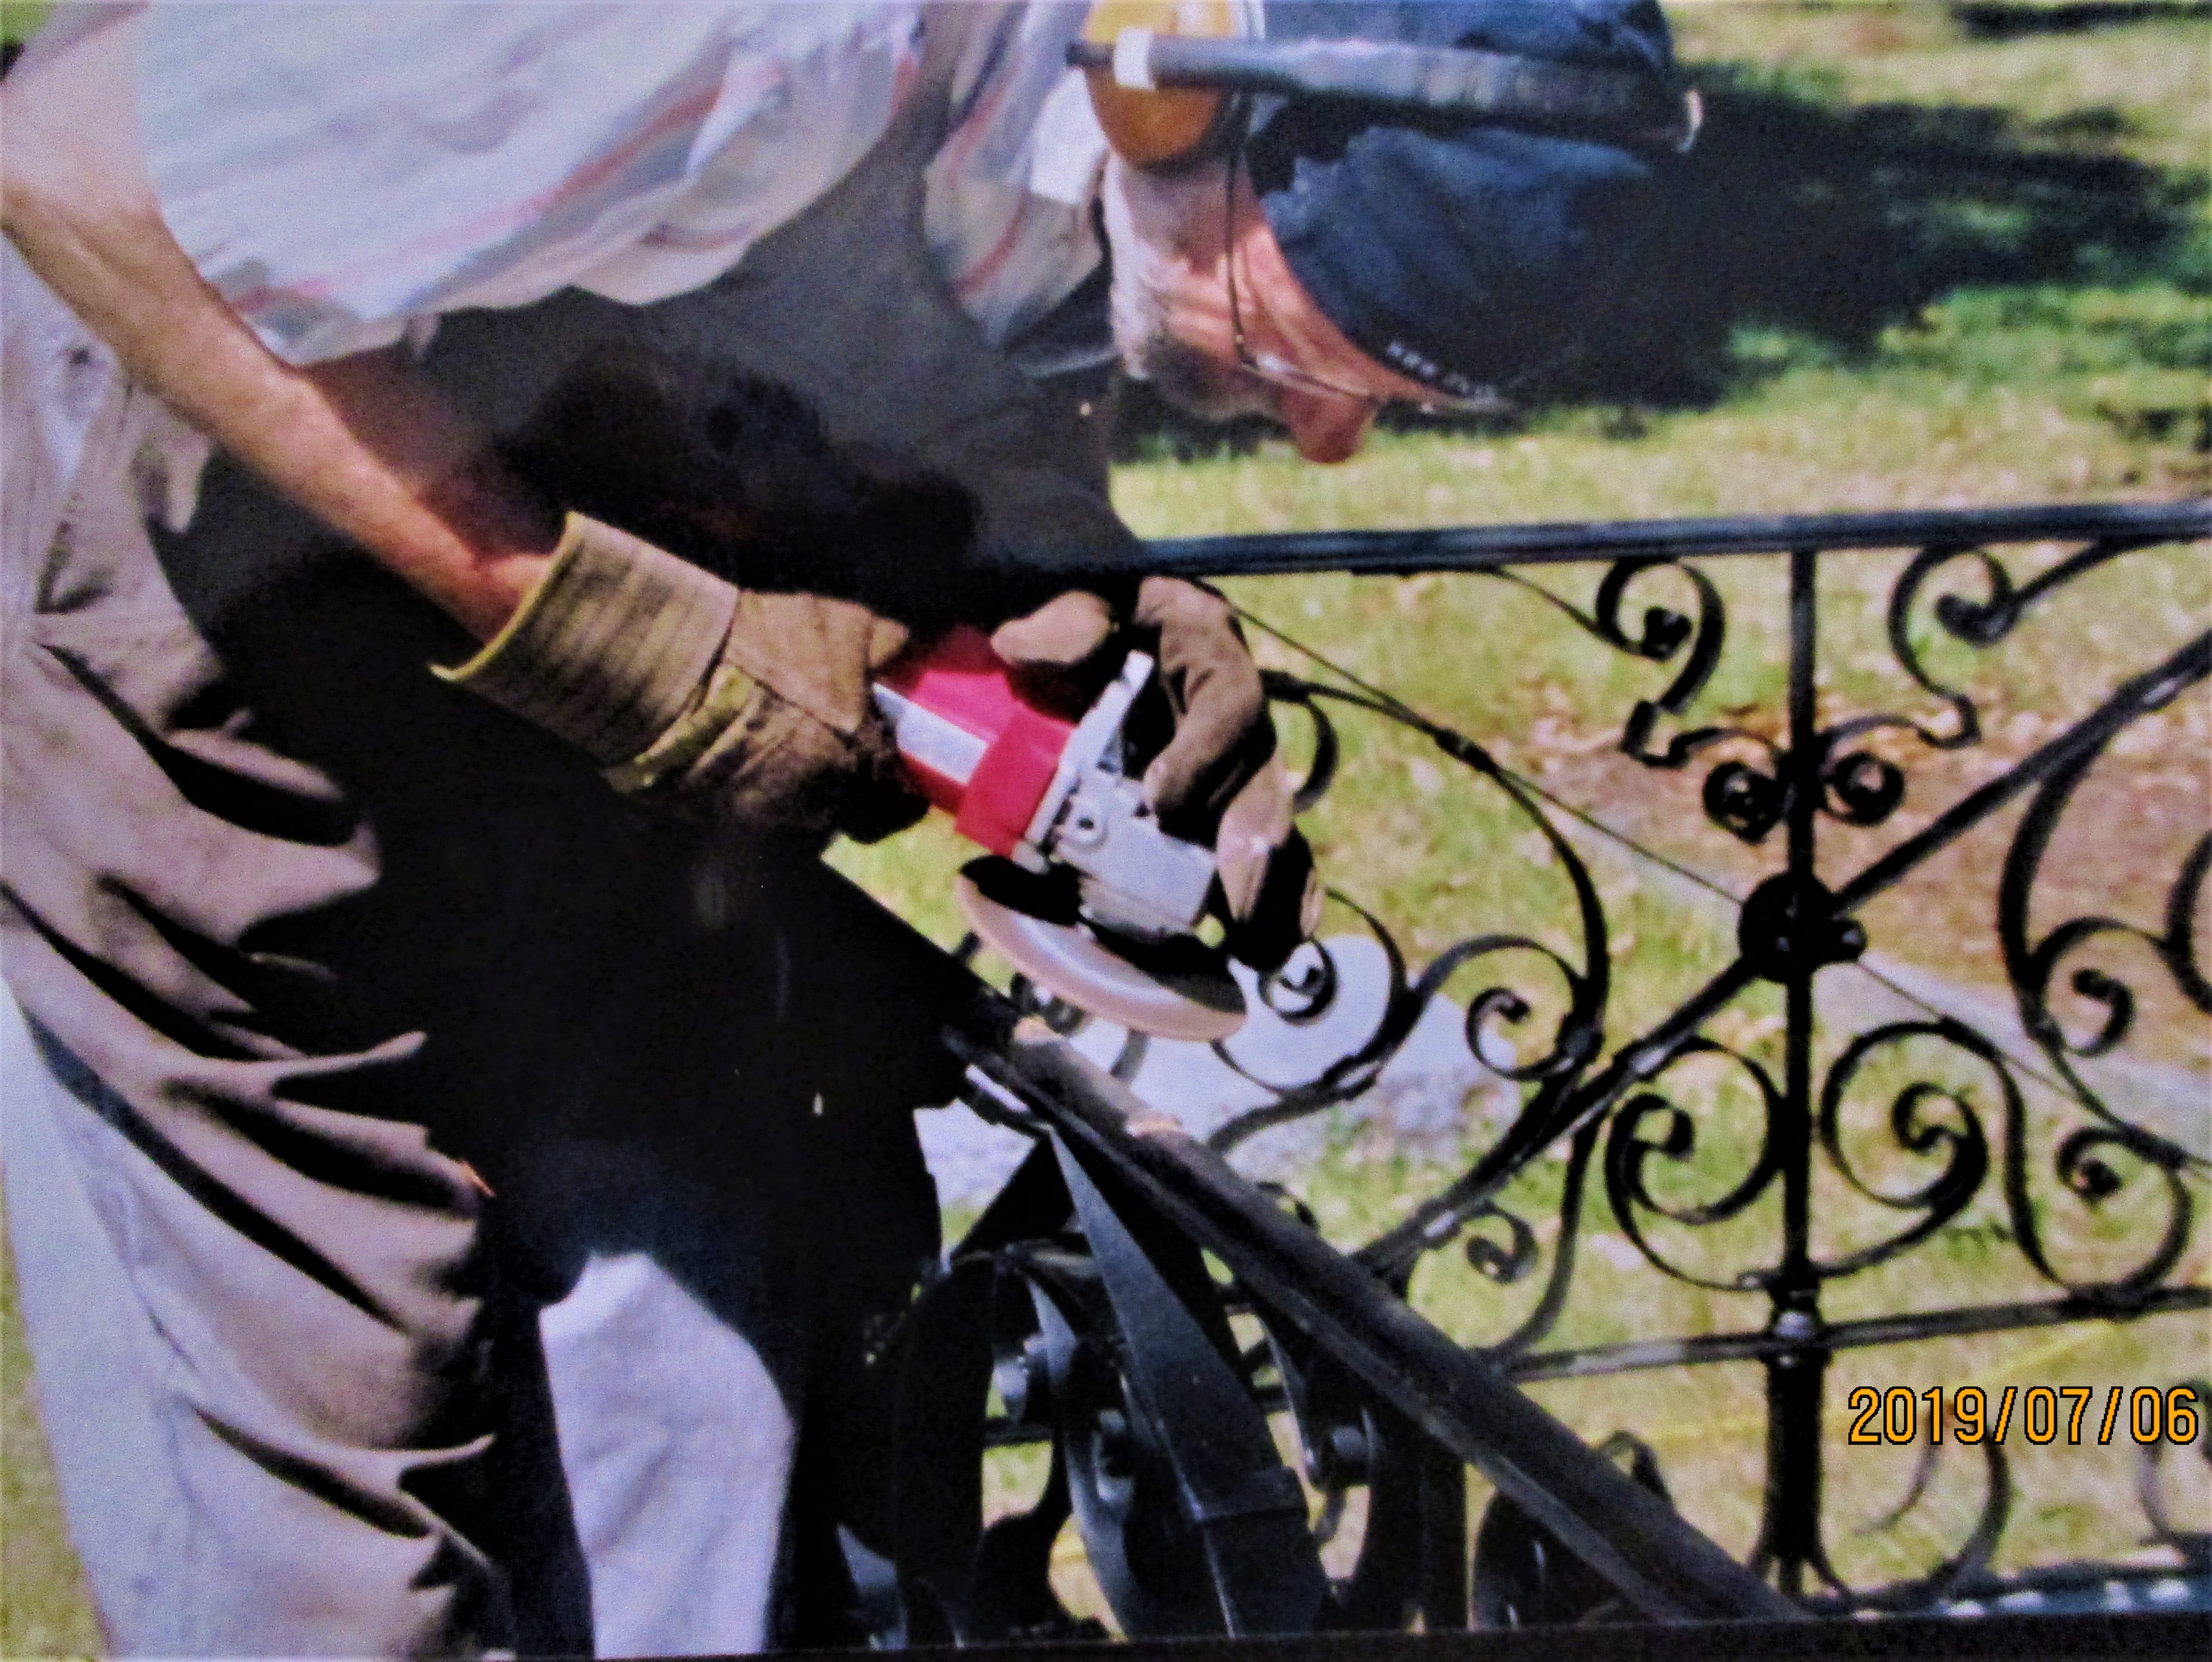


Restoration of hand-worked wrought iron fence around the grave of Charles and Hannah (Parker) Ball
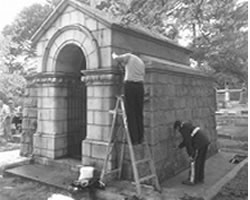
Pritchard Tomb Restoration
Conservation project on the Pritchard Tomb in the Old Burying Ground (Pioneer Square). It took three years and cost over $20,000. Moving some gravestones from the Old Burying Ground to safe storage and repairing markers and curbing that had been knocked over or damaged.
Ross Bay Restoration 2000 -A Millennium Project of OCS
